
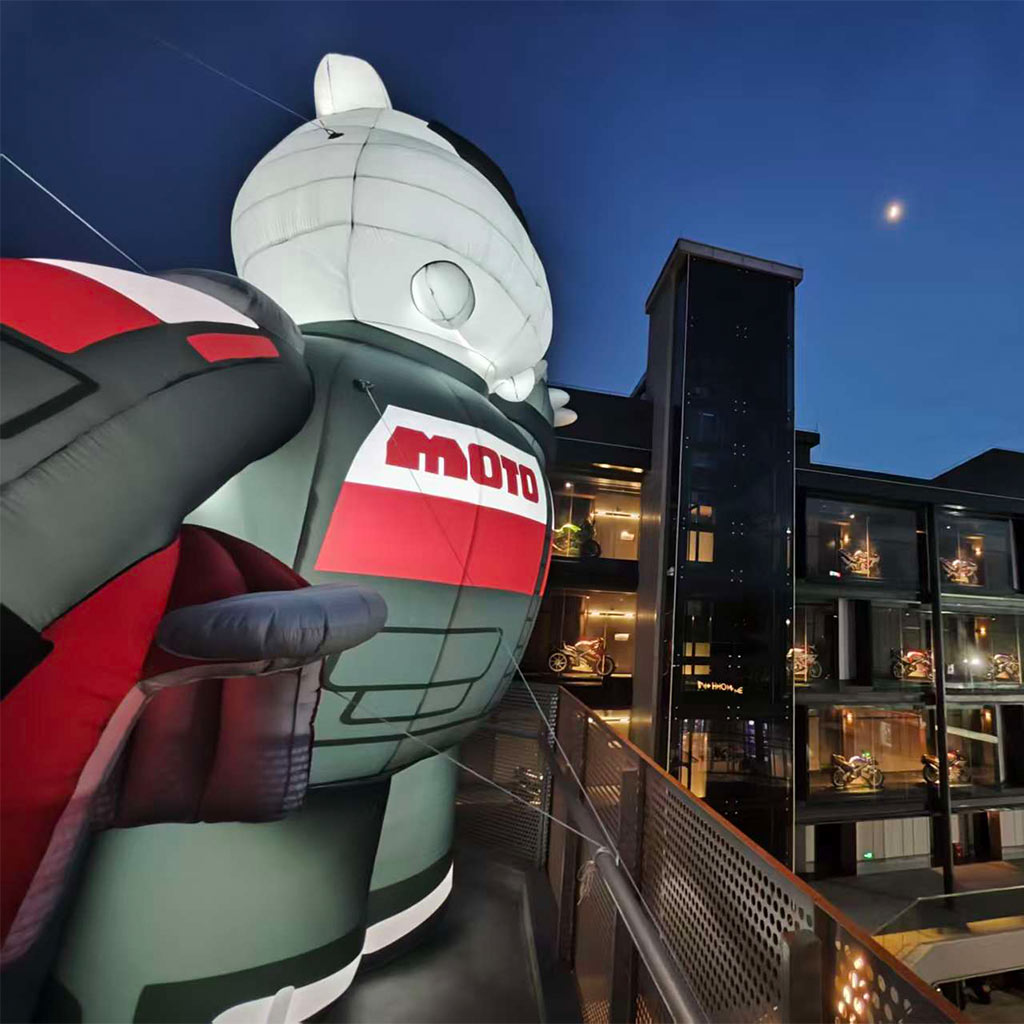
The short answer: Set up an inflatable decoration in five steps — unpack and inspect it, lay it out fully flat on a clean, level surface, plug in the built-in blower and let it inflate completely (1–3 minutes), anchor it with stakes on grass or weighted ballast on hard surfaces, then secure the power cord with a GFCI outlet, a drip loop, and a timer. Total setup time: 5–10 minutes for most decorations.
Inflatable yard decorations are the fastest way to transform your home for the holidays — and the easiest to get wrong if you skip the prep. As a manufacturer that has designed and built inflatables for 17 years (that’s what we do at Inflart), we’ve seen every setup mistake there is. Here’s the exact method that keeps decorations looking great and staying put all season.
What You Need Before You Start
| Item | Why you need it |
|---|---|
| Stakes + tethers (usually included) | Anchoring on grass or soil |
| Sandbags or weighted ballast (10–20 kg each) | Anchoring on patios, driveways, and other hard surfaces |
| Heavy-duty outdoor extension cord | Reach the nearest outlet safely — match the gauge to the blower’s wattage |
| GFCI-protected outlet | Required for outdoor power; protects against wet-weather shorts |
| Timer plug | Automates on/off so the blower doesn’t run unattended 24/7 |
| Towels or strap protectors | Pad tethers where they cross sharp edges, gutters, or pavers |
How to Set Up an Inflatable Decoration — Step by Step
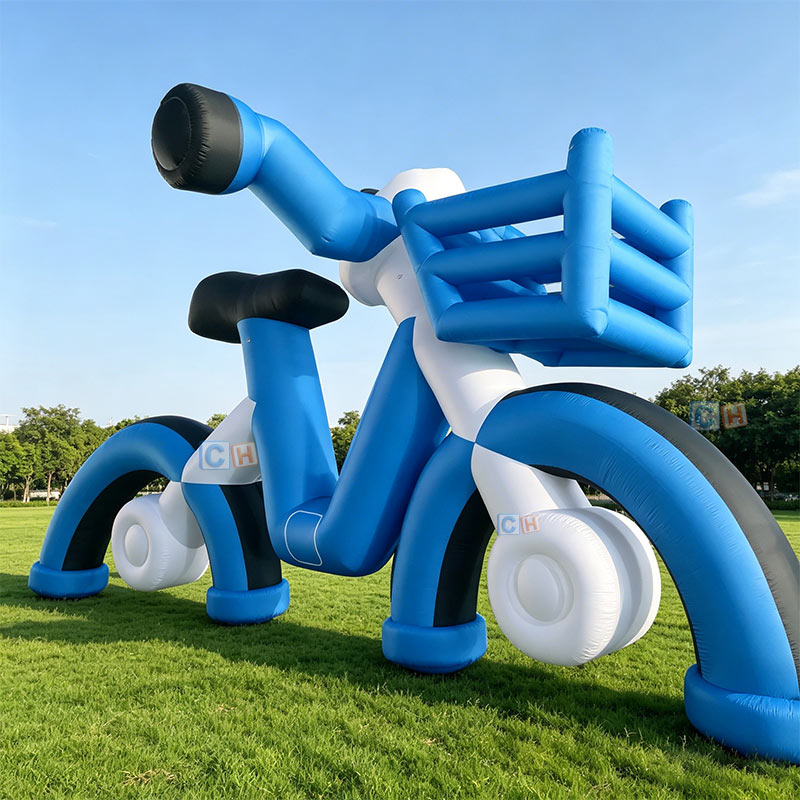
Step 1: Choose the right location
Place the decoration on a flat, level surface — lawn, patio, or driveway — at least 1–2 meters away from sharp objects, sprinkler heads, and obstacles that could puncture the fabric. Spirit Halloween’s official setup instructions put it simply: place it on a flat area and fully unroll it before doing anything else.
Pick a spot near an outdoor outlet (or within extension-cord reach), and avoid wind funnels between buildings or open field edges — those spots get the strongest gusts.
Step 2: Unpack and inspect before you inflate
Unroll the decoration completely and check for:
- Seams and fabric — look for tears, abrasions, or weak stitching (especially at stress points and corners)
- The blower — intake vent clear of debris, cord intact
- LEDs and wiring — all lights working, no exposed or frayed wires
- Anchor loops and tethers — present, intact, and reinforced
Catching a tear before setup saves you a frustrating re-inflation — and a torn decoration is dangerous in the wind. In our factory at Inflart, every custom piece goes through precision manufacturing and testing before it ships, so anchor loops and seams are built to take real weather. Retail decorations vary; a 60-second inspection is always worth it.
Step 3: Lay it out fully, never inflate a folded decoration
Spread the decoration out so no fabric is folded, bunched, or twisted. Never plug in the blower while the decoration is folded — the fabric inflates against itself, which stresses seams and can blow out stitching. Fully unrolled = fully inflated, with even pressure and no wrinkles.
Step 4: Position the blower and clear the intake
Most inflatables have a built-in blower at the base with a mesh intake vent. Make sure the vent faces open air — not the ground, not a wall, and not a pile of leaves. A blocked intake starves the blower, causing a half-inflated, floppy decoration that flaps and tears. If your decoration has internal sandbag pockets (many premium models do), fill them now, before inflation.
Step 5: Plug in and inflate completely
Plug the blower into your GFCI-protected outdoor outlet (or a heavy-duty extension cord rated for the blower’s wattage — a 15 A, 14-gauge cord handles most consumer blowers; check the wattage label on the plug). Let it run until the decoration is fully firm — usually 1–3 minutes. A firm decoration resists wind and looks dramatically better than a half-inflated one. Smooth out any remaining wrinkles by hand once it’s up.
Step 6: Anchor it — stakes on grass, ballast on hard surfaces
This is the step most people skip, and it’s the one that matters:
- On grass/soil: Use the included ground stakes through the anchor loops, angled slightly away from the decoration for a stronger hold. Push them in all the way.
- On patios, driveways, or roofs: Stakes won’t bite into hard surfaces. Use weighted ballast — sandbags or heavy bases (10–20 kg each) placed against the base and on the upwind side, with tethers run through the anchor loops and cinched tight.
- Spread the tethers at roughly 45° angles. Two widely spread tethers resist wind far better than four lines pointing the same direction.
- Never tie to gutters, downspouts, or fence posts that can bend or snap — and never stake into a roof.
Regulators set the wind limit clearly: SafeWork Australia’s guidance for inflatable devices requires inflatables to be anchored per the manufacturer’s instructions and evacuated when gusts exceed 40 km/h (≈25 mph). The UK Health and Safety Executive adds: always confirm the maximum wind speed in the manufacturer’s operating manual.
Step 7: Secure the power — dry connections and a timer
- Use the drip loop: let the cord dip below the outlet before rising to the decoration, so water runs off the cord instead of into the connection.
- Keep connections off the ground and out of pooled water. If a connection must sit outdoors, use a weatherproof cover.
- Add a timer so the blower runs on a schedule — a blower left running 24/7 for weeks shortens its life and wastes electricity. Timers also prevent surprises when you’re away.
- Running multiple inflatables? Check the total wattage and spread them across separate circuits rather than daisy-chaining cords. Inflatable Blast has a solid walkthrough of plugging in multiple decorations safely — the rule is: know your wattage, never overload a single outlet, and keep every junction dry.
Step 8: Final walk-around
Do one full lap: blower intake clear, fabric fully firm with no wrinkles, all tethers tight, cord dry and safely routed, LEDs glowing. Re-check once a day and after every storm — UV and vibration loosen tethers over time.
Anchoring Quick-Reference
| Surface | Best anchor method | Notes |
|---|---|---|
| Grass / lawn | Ground stakes through anchor loops | Angle stakes away from the decoration |
| Concrete / patio | Sandbags or weighted ballast + tethers | 10–20 kg per bag, upwind side |
| Flat roof | Ballast on a mat + padded tethers | Never puncture roofing; pad all strap contact |
| Gutter / downspout | ❌ Never | Bends gutters, decoration pulls free |
Common Setup Mistakes to Avoid
- Inflating a folded decoration — stresses seams and can blow out stitching.
- Blocking the blower intake — causes half-inflation, flapping, and fabric fatigue.
- Skipping anchors on hard surfaces — stakes do nothing on concrete; use ballast.
- Underpowered extension cords — a too-thin cord starves the blower and can overheat. Match the gauge to the wattage.
- Leaving it up through high wind — bring decorations down when gusts approach 40 km/h (25 mph) or your manufacturer’s limit.
- Storing it wet or folded dirty — mold and mildew ruin fabric fast (more on storage below).
Frequently Asked Questions
How long does it take to set up an inflatable decoration?
For most consumer inflatables, 5–10 minutes total: 1–2 minutes to unpack and inspect, 1–3 minutes to inflate, and a few minutes to anchor and secure power. Large custom pieces (commercial scale) take longer and often need a second person.
Do I need stakes if my inflatable comes with them?
Yes — use them on grass or soil. The stakes are part of the anchoring system, not optional packaging. On hard surfaces where stakes can’t bite, substitute weighted ballast (sandbags or heavy bases) through the same anchor loops.
Can I use an extension cord for my inflatable?
Yes, with three rules: use a heavy-duty outdoor cord rated for the blower’s wattage (check the label on the plug), keep the connection dry with a drip loop, and plug into a GFCI-protected outlet. Never daisy-chain multiple inflatables on one thin cord.
Why does my inflatable keep deflating or look half-inflated?
Three usual culprits: a blocked blower intake (clear leaves and debris), a leak or seam tear (inspect and patch before use), or an underpowered extension cord starving the blower. If it’s fully firm and still deflates, check the blower fan and the fabric seams systematically.
Can I plug multiple inflatables into one outlet?
Only if the combined wattage is within the circuit’s rating — check each blower’s wattage label and add them up. Spread decorations across separate circuits where possible, and never overload a single outlet or daisy-chain cords.
Can I leave my inflatable up overnight or in the rain?
Yes, if it’s properly anchored and powered through a GFCI outlet with dry connections. Bring it down when wind gusts are forecast to reach 40 km/h (25 mph) or your manufacturer’s rated limit — that’s the threshold regulators use for inflatable safety. A timer is strongly recommended so the blower doesn’t run unattended around the clock.
How do I store inflatable decorations after the season?
Deflate completely (unplug the blower and let the fabric settle), wipe dry — especially seams and the blower housing — then fold loosely and store in a dry, rodent-free space. Never store wet or damp: mold is the #1 killer of inflatable fabric. Inflatable Holiday’s care guide covers choosing, placing, and storing inflatables in detail if you want the full maintenance playbook.
Final Takeaway
Setup is 80% prep: flat ground, full unroll, complete inflation, proper anchoring, dry power. Do those five things and your inflatable will look great and stay put through the season — skip them and you’ll be chasing a deflated, blown-over decoration by week two.
And if you’re planning something bigger — a giant custom replica, a branded mascot, or a venue-sized installation — work with a manufacturer that builds for real weather and tests every piece before shipping. That’s the standard we hold at Inflart: 17 years of factory-direct custom inflatable engineering, from sketch to 3D rendering to a transparent quote within 24 hours.
Sources
- Spirit Halloween — How to set up your inflatable decoration
- SafeWork Australia — Amusement devices information sheet for inflatable devices
- UK Health and Safety Executive — Bouncy castles and other play inflatables: safety advice
- Inflatable Holiday — Choose and care for inflatable holiday decor
- Inflatable Blast — Plugging in multiple inflatable decorations safely